
Understanding Spray Foam Removal Near Me
When it comes to maintaining a safe and healthy home environment, understanding spray foam insulation and its associated removal processes is crucial. Many homeowners find themselves searching for spray foam removal near me as they deal with the complexities of insulation. Spray foam provides excellent insulation properties, but there may be times when removal is necessary for safety or performance reasons.
What is Spray Foam?
Spray foam insulation is a type of insulation material that is sprayed as a liquid and expands to fill gaps and voids, creating a powerful insulating layer. Typically composed of isocyanate and polyol resin, spray foam insulation is recognized for its ability to adhere to various surfaces, seal air leaks, and provide moisture control. Unlike traditional insulation methods, spray foam can reach difficult areas, providing a consistent barrier throughout an home.
Benefits and Risks of Spray Foam Insulation
The benefits of spray foam insulation are abundant. It significantly improves energy efficiency by reducing air leaks, which can lead to lower heating and cooling costs. Additionally, its moisture-resistant properties reduce the risk of mold and mildew. However, it is essential to be aware of the risks involved. If installed improperly, spray foam can emit harmful chemicals, and its expansion can stress building materials, leading to structural damage.
Common Reasons for Spray Foam Removal
There are several reasons why homeowners seek to remove spray foam insulation. Some of the most common include:
- Water Damage: Moisture intrusion can render spray foam ineffective and promote mold growth.
- Poor Installation: Improper application may create air pockets or fail to cure correctly.
- Health Concerns: Allergic reactions to chemicals in spray foam can necessitate its removal.
- Remodeling or Renovation: Changes in the home that require insulation adjustments or upgrades.
Identifying the Need for Spray Foam Removal Near Me
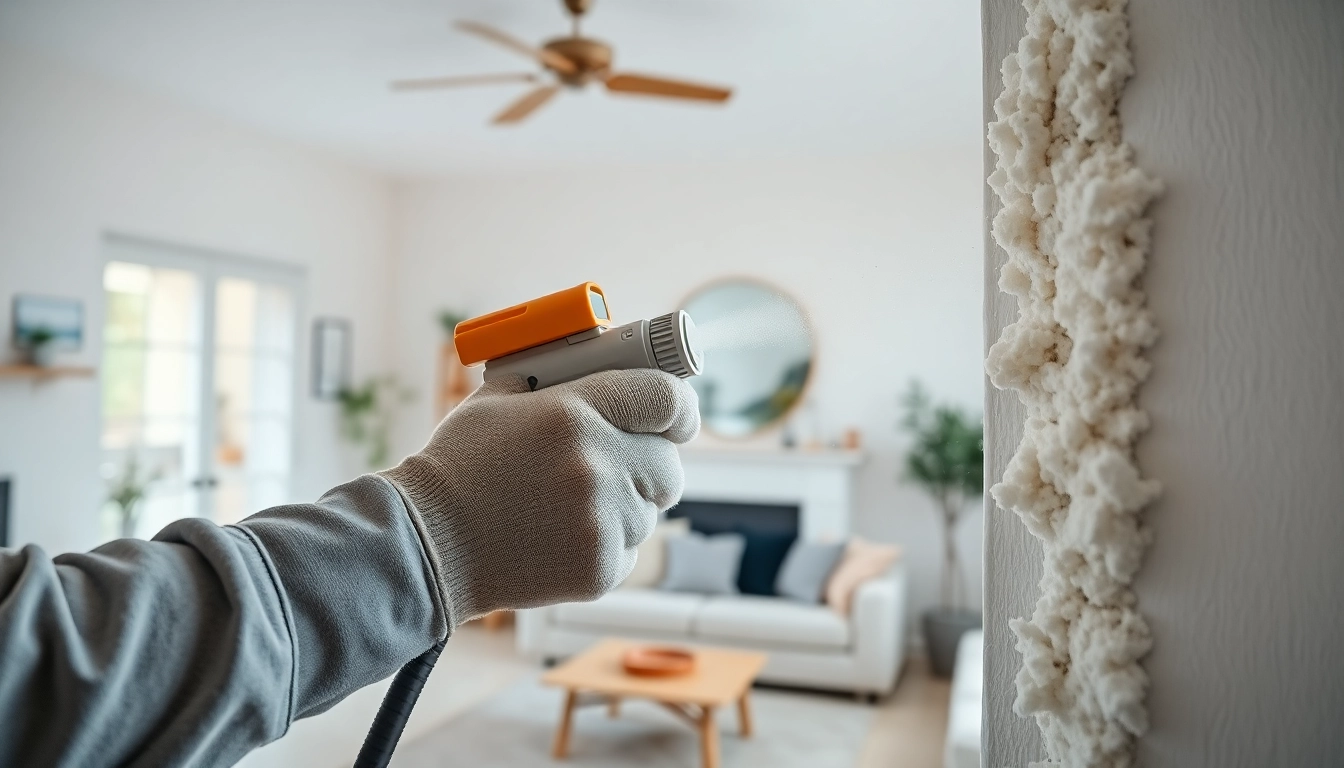
Recognizing when to remove spray foam insulation is vital for maintaining your home’s integrity. Various signs can indicate that it is time for a removal project.
Signs That Indicate Removal is Necessary
Look out for the following signs that may indicate that spray foam removal is needed:
- Visible Damage: Cracks, peeling, or warping in the foam can show that the material is compromised.
- Unpleasant Odors: Strong chemical smells are a red flag, suggesting that the foam may be breaking down.
- Mold Growth: Any visible mold on the foam or surrounding areas indicates moisture problems.
- Allergies or Health Issues: Increased respiratory issues or allergic reactions can suggest contamination.
How to Assess the Condition of Spray Foam
To determine the condition of your spray foam insulation, take a close look at its appearance and surrounding environment. Ensure to perform the following assessments:
- Check for any water stains on walls or ceilings near the insulation.
- Inspect the foam for structural integrity—any signs of sagging or cracking may signal a problem.
- Monitor indoor air quality. Notice if there are increasing allergy symptoms or odor complaints.
Cost Considerations for Removal Services
When contemplating spray foam removal, cost is a significant factor. The price can vary widely based on:
- The size of the area to be treated.
- The condition of the existing spray foam.
- The complexity of removal due to its location and accessibility.
- The contractor’s experience and guarantees regarding their work.
On average, homeowners can expect to pay between £10 and £30 per square foot for professional removal services.
Finding Professionals for Spray Foam Removal Near Me
Once you’ve determined the necessity for spray foam removal, the next step is to find qualified professionals. Here’s what to consider when searching for contractors.
Choosing the Right Contractors
Selecting the right contractor for spray foam removal requires careful consideration. Look for companies that have:
- A solid reputation and positive customer reviews.
- Proper licensing and insurance coverage.
- Averifiable experience in spray foam removal techniques.
Prioritize choosing professionals who are knowledgeable about local building codes and regulations.
Questions to Ask Before Hiring
Before hiring a contractor, asking the right questions can help gauge their expertise and reliability. Consider inquiring about:
- What safety measures are taken during the removal process?
- Can you provide a breakdown of the costs involved?
- What guarantees or warranties do you offer on your services?
- How long will the removal process take?
Comparing Quotes and Services
Once you have gathered several quotes, start comparing them based on more than just price. Assess the following criteria:
- Scope of services included in the quote.
- Timeline for completion.
- Contractor qualifications and references.
This comparative analysis will help you choose a contractor that not only fits your budget but also meets your quality expectations.
DIY Spray Foam Removal Techniques
While professional removal is often recommended, some homeowners may choose to undertake DIY spray foam removal. However, this approach requires careful planning and execution.
Basic Tools Needed for DIY Removal
To effectively remove spray foam on your own, certain tools are essential:
- Utility knife or oscillating multi-tool:
- Protective gloves and eyewear:
- Respirator to guard against fumes:
- Damp cloth to wipe clean surfaces:
Step-by-Step DIY Removal Guide
- Preparation: Clear the workspace and wear appropriate protective gear.
- Cut: Carefully use the utility knife or multi-tool to cut away the spray foam, avoiding underlying structures.
- Remove: Pull away the foam gently, ensuring you don’t damage surrounding areas.
- Clean up: Dispose of the foam material and clean the area, wiping down surfaces with a damp cloth.
Safety Precautions to Consider
Safety cannot be overstated during DIY removal. Ensure adequate ventilation, especially in confined spaces. Be cautious of potential chemical exposure and wear protective gear at all times. If you encounter extensive foam or hazardous conditions, it’s best to consult a professional.
Post-Removal Considerations and Maintenance
After successfully removing spray foam insulation, it is important to address post-removal tasks to enhance safety and functionality.
Aftercare for the Area Post-Removal
Post-removal aftercare is vital. Inspect the area for residual materials, clean surfaces thoroughly, and allow appropriate time for any chemical remains to dissipate. If moisture-related issues were present, consider using a dehumidifier to manage humidity levels effectively.
Final Inspection: What to Look For
Once removal is complete, conduct a thorough inspection. Check for any remaining debris or surfaces that may need repairs. Take note of any areas vulnerable to moisture that may require further attention or insulation alternatives.
Preventative Measures to Avoid Future Issues
To avoid repeating insulation problems in the future, consider implementing preventative measures:
- Regularly inspect your home for signs of mold or moisture.
- Ensure proper ventilation, especially in attics and crawl spaces.
- Use high-quality insulation materials that meet your climate’s needs.
FAQs
What is the average cost of spray foam removal?
The cost typically ranges from £10 to £30 per square foot, varying based on removal complexity and area size.
Can I do spray foam removal myself?
Yes, DIY removal is possible but requires careful planning and the right tools. Ensure to follow safety measures.
How do I know if my spray foam is damaged?
Signs of damage include visible cracks, unpleasant odors, or moisture-related growth on the foam surface.
What should I do after removing spray foam?
Perform thorough cleaning, inspect for damage, and consider using moisture control solutions in the area.
How can I avoid issues with spray foam insulation in the future?
Regular inspections, proper ventilation, and using high-quality materials can help prevent insulation problems.